Using blueprints
Besides generating new application project structure, the ng tool supports creating core Angular building blocks
be means of generate (or g) command and several blueprints.
ng generate <blueprint> <options...>
For the time being Angular CLI supports the following set of blueprints out-of-box:
| Blueprint name | Command line usage |
|---|---|
| Component | ng g component my-new-component |
| Directive | ng g directive my-new-directive |
| Pipe | ng g pipe my-new-pipe |
| Service | ng g service my-new-service |
| Class | ng g class my-new-class |
| Guard | ng g guard my-new-guard |
| Interface | ng g interface my-new-interface |
| Enum | ng g enum my-new-enum |
| Module | ng g module my-module |
Let's assume you have generated a new my-first-app like suggested below:
ng new my-first-app
cd my-first-app
Now to create a new component, you should be using the following command:
ng g component my-first-component
The ng tool takes your current directory and creates all component related files:
installing component
  create src/app/my-first-component/my-first-component.component.css
  create src/app/my-first-component/my-first-component.component.html
  create src/app/my-first-component/my-first-component.component.spec.ts
  create src/app/my-first-component/my-first-component.component.ts
  update src/app/app.module.ts
If you are running ng generate command (or ng g by alias) from the root of your project,
the CLI should automatically put content to src/app/<feature> folder like shown above.
You can also specify additional folder structure that should become relative to src/app during generation.
All missing directories get created automatically.
Run the following command from the root project folder:
ng g service services/simple-service
The ng tool creates src/app/services path and puts simple-service implementation there:
installing service
  create src/app/services/simple-service.service.spec.ts
  create src/app/services/simple-service.service.ts
  WARNING Service is generated but not provided, it must be provided to be used
Finally, you can change current directory and generate Angular artifacts there:
mkdir src/app/directives
cd src/app/directives/
ng g directive my-first-directive
In this case, you should see get following output:
installing directive
  create src/app/directives/my-first-directive.directive.spec.ts
  create src/app/directives/my-first-directive.directive.ts
  update src/app/app.module.ts
All blueprints follow common Angular code style guides. You get a separate folder and all files one should expect when starting with a new Angular component:
- code file (
<component>.ts) - external template file (
<component>.html) - external css file (
<component>.css) - unit test file (
<component>.spec.ts)
One of the best features of Angular CLI is that you do not get just placeholder files but a valid ready to use artefact and unit tests.
Let's peek inside MyFirstComponent component we have created earlier, and try integrating into the application.
import { Component, OnInit } from '@angular/core';

@Component({
  selector: 'app-my-first-component',
  templateUrl: './my-first-component.component.html',
  styleUrls: ['./my-first-component.component.css']
})
export class MyFirstComponentComponent implements OnInit {

  constructor() { }

  ngOnInit() {
  }

}
You get app-my-first-component selector, external template and style,
together with a constructor and OnInit placeholder to save your time.
The stylesheet file (my-first-component.component.css) is empty by default, and template file (my-first-component.component.html) contains the following simple layout:
<p>
  my-first-component works!
</p>
The CLI will even update src/app/app.module.ts to include your newly created component into the application module:
import { BrowserModule } from '@angular/platform-browser';
import { NgModule } from '@angular/core';
import { FormsModule } from '@angular/forms';
import { HttpModule } from '@angular/http';

import { AppComponent } from './app.component';
import { MyFirstComponentComponent } from './my-first-component/my-first-component.component';

@NgModule({
  declarations: [
    AppComponent,
    MyFirstComponentComponent
  ],
  imports: [
    BrowserModule,
    FormsModule,
    HttpModule
  ],
  providers: [],
  bootstrap: [AppComponent]
})
export class AppModule { }
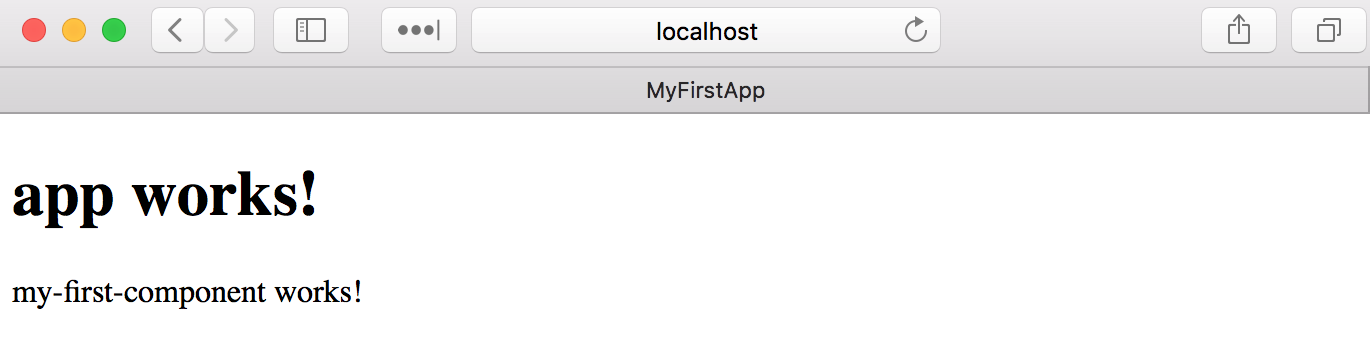
To test the generated component you can use main application template:
<h1>
  {{title}}
</h1>

<app-my-first-component>
</app-my-first-component>
Finally, you can run development server if it is not running already:
ng serve
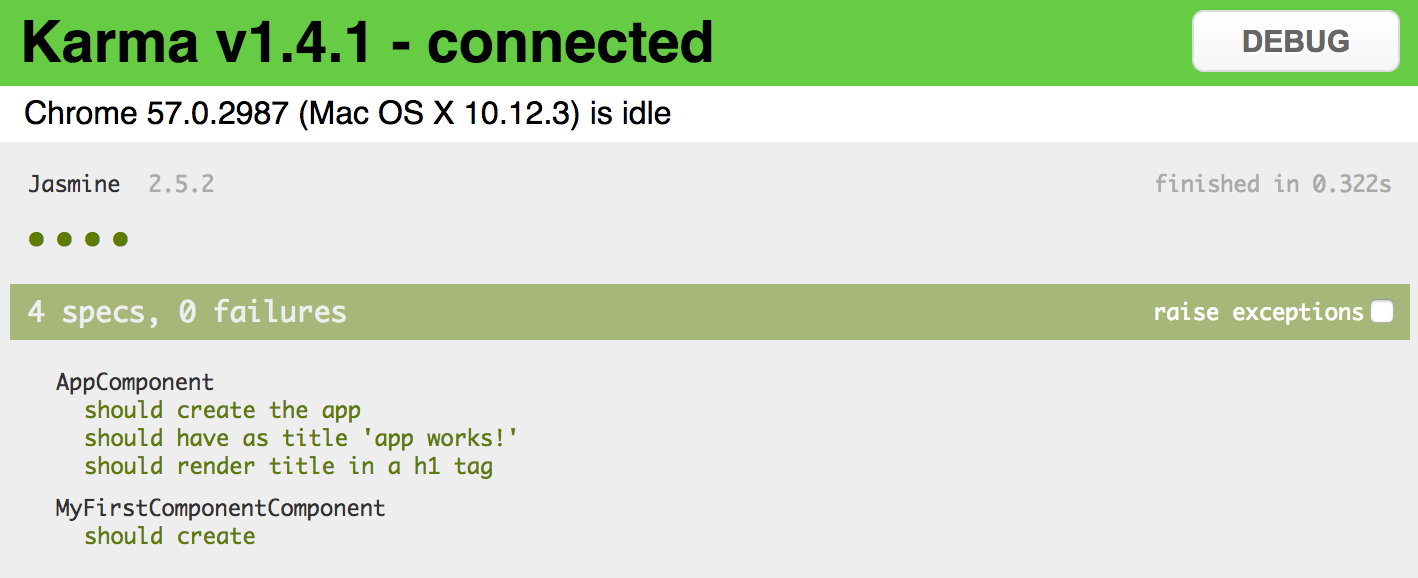
As a starting point you also get a simple ready-to-run unit test for your component:
import { async, ComponentFixture, TestBed } from '@angular/core/testing';

import { MyFirstComponentComponent } from './my-first-component.component';

describe('MyFirstComponentComponent', () => {
  let component: MyFirstComponentComponent;
  let fixture: ComponentFixture<MyFirstComponentComponent>;

  beforeEach(async(() => {
    TestBed.configureTestingModule({
      declarations: [ MyFirstComponentComponent ]
    })
    .compileComponents();
  }));

  beforeEach(() => {
    fixture = TestBed.createComponent(MyFirstComponentComponent);
    component = fixture.componentInstance;
    fixture.detectChanges();
  });

  it('should create', () => {
    expect(component).toBeTruthy();
  });
});
As mentioned earlier you can run unit tests in watch mode with the help of ng test command:
If you have added your component to the app.component.html template, some unit tests may fail.
To fix them you should update test configuration in app.component.spec.ts
and include your component into the test module:
import { TestBed, async } from '@angular/core/testing';

import { AppComponent } from './app.component';
import { MyFirstComponentComponent } from './my-first-component/my-first-component.component';

describe('AppComponent', () => {
  beforeEach(async(() => {
    TestBed.configureTestingModule({
      declarations: [
        AppComponent,
        MyFirstComponentComponent
      ],
    }).compileComponents();
  }));

  ...
});