Custom Pipes
Besides providing a set of standard out-of-box pipes the Angular framework provides support for creating your custom ones.
To create a custom pipe you need to import the @Pipe decorator and apply it to your class.
import { Pipe } from '@angular/core';

@Pipe({
  name: 'customDate'
})
export class CustomDatePipe {
  // ...
}
You can give your class any name you want.
The Angular is going to use the @Pipe decorator metadata when parsing component templates, in our case the pipe gets used as customDate:
<element>
  {{ <expression> | customDate }}
</element>
Also, your class should implement a PipeTransform interface with a transform method:
interface PipeTransform {
  transform(value: any, ...args: any[]) : any
}
At runtime, the Angular calls your pipe's transform method providing original input value together with optional pipe parameters.
For example, if your myPipe pipe expects to receive 3 additional parameters you can declare your transform method like the following:
transform(value: string, p1: number, p2: number, p3: number) : string {
  return value;
}
To get type checking support from TypeScript, you can also provide type definitions for your parameters and method return type.
You can now use your pipe in HTML templates like in the example below:
<element>
  {{ 'hello world' | myPipe:1:2:3 }}
</element>
Implementing Custom Pipe
We are going to create a simple pipe that takes a numeric input value for a size of the file in bytes and produces a user-friendly output by transforming it to Kilobytes, Megabytes or greater units.
Let's start creating a custom pipe with a new project custom-pipes by utilizing the Angular CLI tool.
ng new custom-pipes
You can use Angular CLI to generate the file-size pipe scaffold.
ng g pipe pipes/file-size
The command above generates a pipe, basic unit test and updates main application module so that you can use this pipe across all the application components.
installing pipe
  create src/app/pipes/file-size.pipe.spec.ts
  create src/app/pipes/file-size.pipe.ts
  update src/app/app.module.ts
The default pipe scaffold already contains a @Pipe decorator applied and inherits the PipeTransform interface:
// src/app/pipes/file-size.pipe.ts

import { Pipe, PipeTransform } from '@angular/core';

@Pipe({
  name: 'fileSize'
})
export class FileSizePipe implements PipeTransform {

  transform(value: any, args?: any): any {
    return null;
  }

}
First, let's change the signature of the transform method to accept bytes and decimals parameters of a number type.
We also make both of them optional by providing default values and change the return type of the method to a string.
// src/app/pipes/file-size.pipe.ts

@Pipe({
  name: 'fileSize'
})
export class FileSizePipe implements PipeTransform {

  transform(bytes: number = 0, decimals: number = 2): string {
    return null;
  }

}
Converting Bytes
There are many different ways to convert a file size from bytes to other units of measurement.
For this example we are going to take the accepted answer from the following Stackoverflow question: Correct way to convert size in bytes to KB, MB, GB in Javascript
You can see the final implementation of the pipe below:
@Pipe({
  name: 'fileSize'
})
export class FileSizePipe implements PipeTransform {

  transform(bytes: number = 0, decimals: number = 2): string {
    if (bytes === 0) {
      return '0 Bytes';
    }
    const k = 1024,
       dm = decimals || 2,
       sizes = ['Bytes', 'KB', 'MB', 'GB', 'TB', 'PB', 'EB', 'ZB', 'YB'],
       i = Math.floor(Math.log(bytes) / Math.log(k));
    return parseFloat((bytes / Math.pow(k, i)).toFixed(dm)) + ' ' + sizes[i];
  }

}
If no bytes value provided the pipe returns a "0 Bytes" string,
for all other cases if converts input number to the most appropriate measuring unit.
The transform method also takes into account the number of decimals to use after the point,
provided within the second decimals parameter.
By default, it is going to take two numbers.
In order to see the pipe in action open the main application component template and append the following HTML block:
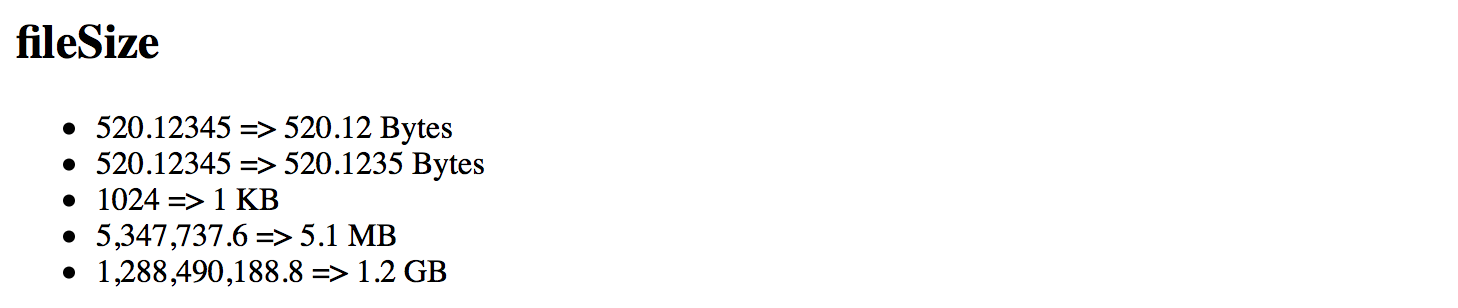
<h2>fileSize</h2>
<ul>
  <li>520.12345 => {{ 520.12345 | fileSize }}</li>
  <li>520.12345 => {{ 520.12345 | fileSize:4 }}</li>
  <li>1024 => {{ 1024 | fileSize }}</li>
  <li>5,347,737.6 => {{ 5347737.6 | fileSize }}</li>
  <li>1,288,490,188.8 => {{ 1288490188.8 | fileSize }}</li>
</ul>
Now run the application with ng serve --open command and you should see the following output: